Note: Some Internet Explorer users have experienced problems with the Customizer. Try using Firefox, Chrome, or Safari instead.
I will be going through old tutorials on my website, updating them to reflect the new website template. However, the only significant change in terms of managing websites is the implementation of the Customizer, which I will explain here. In the past, you went to the Widgets area to manage your sidebar widgets, and you went to the Options page to edit the contact information that displays in the upper right corner of the website. Now, you will edit both of these using the Customizer. You can access the Customizer by clicking Customize in the Admin bar:

Or Customizer in the Admin menu:

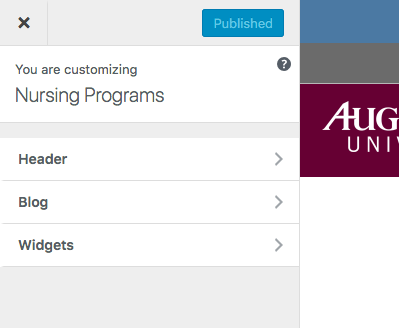
This will open the Customizer. There you will see the options for both the Header and Widgets.
As you make changes, you will see the changes reflected in the preview window to the right. Note that this is only a preview. In order to save your changes you must click the “Save and Publish” button:

You can leave the customizer by clicking the X in the upper left corner:

If you try to close the customizer without saving your changes, it will prompt you to confirm that you want to leave without saving your changes:

You can click “Stay” to remain in the customizer and continue editing or save your changes. Click “Leave” to leave the customizer without saving your changes.