How to create a Faculty page
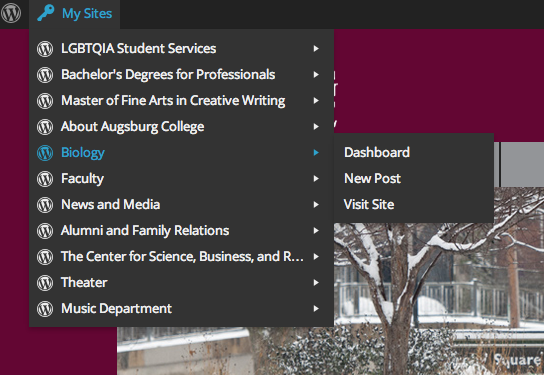
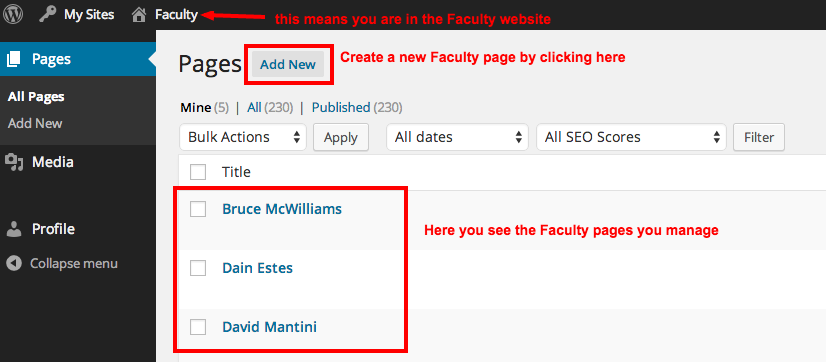
Faculty site – All faculty pages live in the Faculty site rather than in your department’s site. After you log in, go to “My Sites” in the upper left and select “Faculty” from the list there. Once you are in the Faculty site, you can create your page.
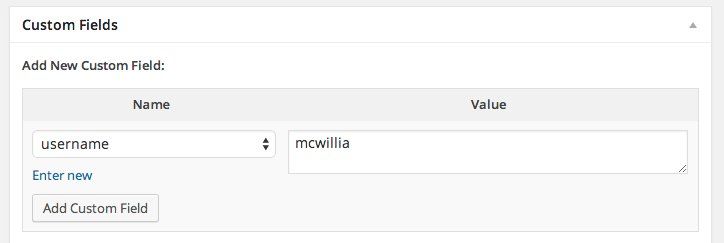
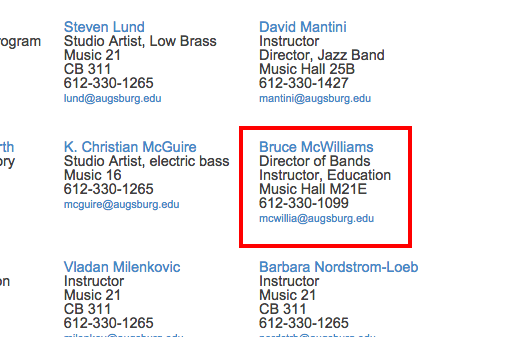
Custom Field – On your faculty member’s page, the “username” custom field must be set to that person’s Augnet user name. This is what makes their contact information display on the page, and what makes their name appear as a link on your department’s faculty page.
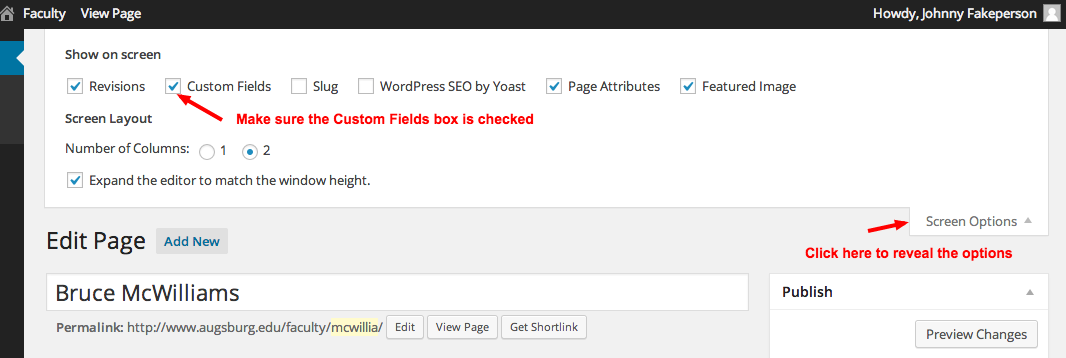
If you don’t see the Custom Fields box, go to your Screen Options and select it.
URL – set the URL to their username.
Photo – upload the person’s photo as the Featured Image.
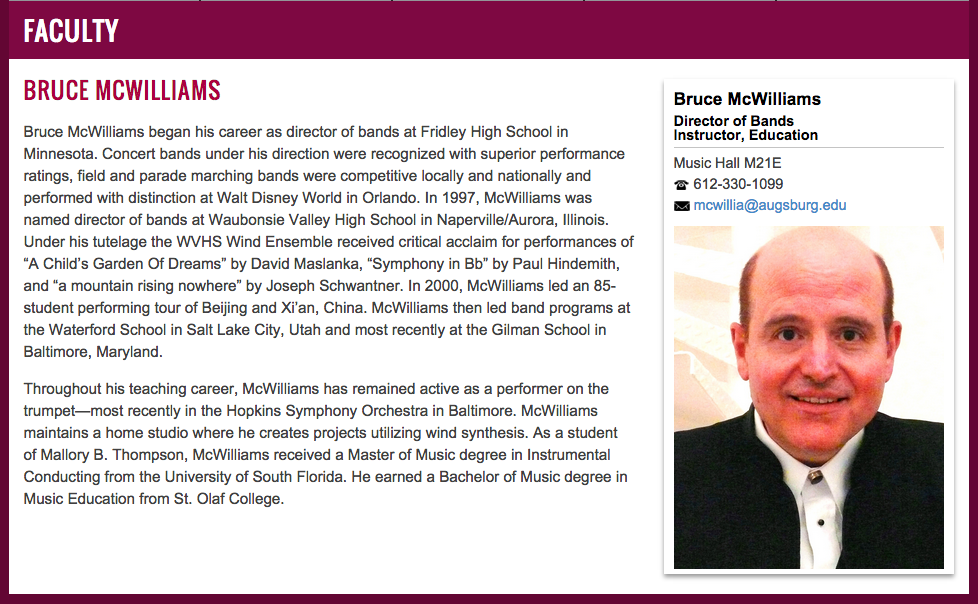
If you preview the page, you should see the person’s contact information and photo in a box on the right.
NOTE: YOU CANNOT PUBLISH NEW FACULTY PAGES. Because these are set up in a particular way, the publishing process needs to go through the Marketing department. You can send in a project request or email me to request the page to be published.
Once it is published, check your department’s faculty listing page. The faculty member’s name should be linked now. Click the link to make sure it is going to the correct page.
That’s it! You have done all the necessary steps to set up a faculty page.
Staff Pages
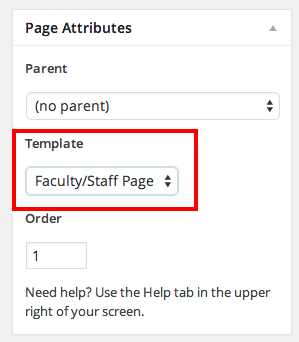
If you would like to create pages for the staff members in your department using this same template, you can! These are created within your department’s site. Just create the page as usual, but put the person’s photo in as the Featured Image, add the username custom field just as you would for a faculty page, and then select the Faculty/Staff Page template:
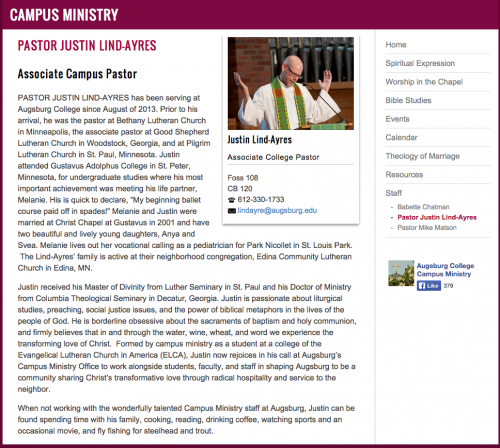
A completed Staff page should look something like this:
